Monday, December 27, 2021
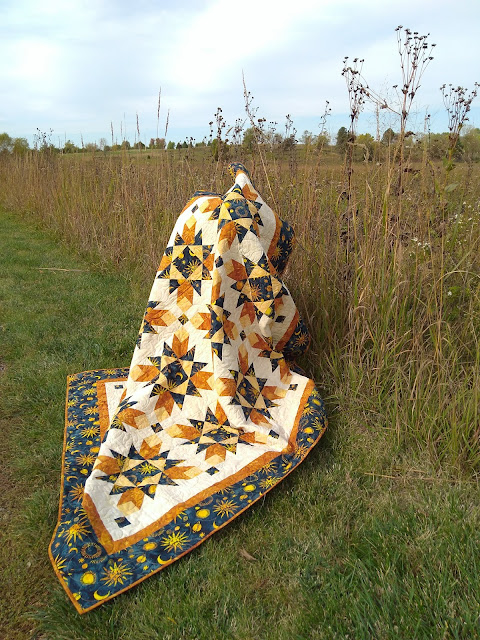
Evening Light
Thursday, December 23, 2021
Revising the plan to get it done
Where did the year go? Back in January, I finished up my Temperature Quilt 2020 top and made plans to piece a backing. I planned to add a temperature/color key to the back. If I paper-pieced one digit each week, I'd easily have the backing done to finish the quilt by the end of 2021. I suspect you can guess where this is going.
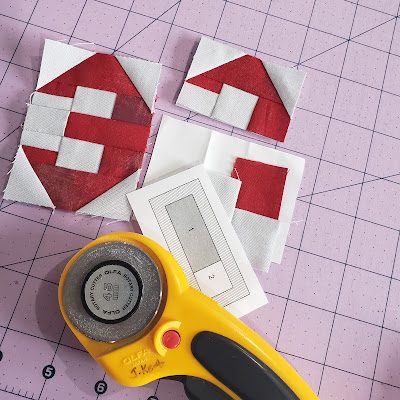
There you go. What you see above is all I got done on this project this year. What can I say? My priorities shifted. I've had my most productive quilting year ever, and enjoyed every minute, but this quilt back was not part of that.
At this point, the whole project is sitting in a box on a shelf, sending me reproachful glances every time I grab a different box. It's interfering with my enjoyment of those other projects. Every time I think I should be working on that backing but I don't feel like it, I lose my enthusiasm for the whole project. That's just not right, because I was so excited about this quilt!
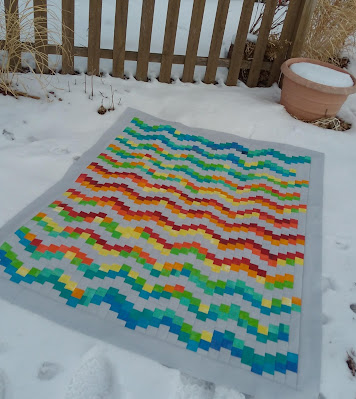 |
| Temperature Quilt top 2020 |
So, I have decided to simplify my plan. As my very wise daughter pointed out yesterday, it's my quilt. I can change the plan if I want to. Plan changed! I may or may not add a key to the label, but I'm definitely not piecing or appliqueing all those numbers. I'll piece my color strips together to make a quick pretty back and get closer to a finished quilt I can toss on the couch and be happy with again.
I settled on this layout.
Let's see if I can get the backing pieced and the quilt basted by the new year. I almost said finished, but honestly, I really don't want to set this quilt up for more disappointment!
I'd love to hear about any stalled projects you've had, and how you got them moving forward again.
Friday, December 3, 2021
Half-Rectangle Units Tutorial
 |
| The sails in this block from my Sailing School pattern are made from HRT units |
Here, as promised, is my tutorial about making half-rectangle triangle units (HRT) without specialty rulers. This method does involve a bit of fabric waste as the units are made a little over-sized, then trimmed down. I think the little bit of trimming waste in exchange for ease and accuracy is worth it.
Traditionally, the HRT is twice as tall as it is wide, so those are the dimensions I worked with.
Here goes!
Step 1: Determine the desired finished size of the unit. (Remember that the finished size is the size in the finished project, after the seam allowance is taken up by sewing the unit into the project.)
Step 2: You will need two rectangles of fabric. To determine the width of the cut rectangles:
- For the cut width, add 1 1/4" to the desired finished width.
- The cut height will be double the cut width.
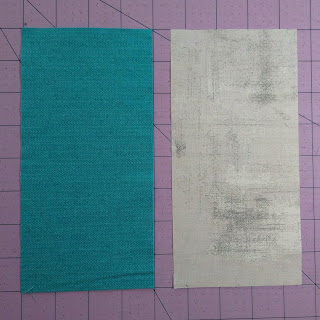 |
| Step 2: Cut two rectangles |
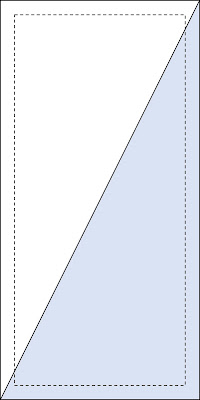
Step 3: Mark a diagonal line on one of the rectangles. Careful! The direction of the line matters.
- For a left-leaning seam on the finished unit (from upper left corner to lower right corner), draw the line from the top right corner to the lower left corner.
- For a right-leaning seam on the finished unit (lower left corner to upper right corner), draw the line from the top left corner to lower right corner.
- to the left (counterclockwise) for a left-leaning finished unit, so that the upper right corner shifts to touch the upper left of the bottom rectangle, and the lower left corner shifts to touch the lower right corner of the bottom rectangle.
- to the right (clockwise) for a right leaning finished unit, so that the upper left corner shifts to touch the upper right of the bottom rectangle, and the lower right corner shifts to touch the lower left corner of the bottom rectangle.
 |
| Step 6: Rotate marked rectangle |
 |
| Check orientation |
 |
| Step 7: Sew then cut into two units |
 |
| What you want to avoid |
I've found that using a template to guide my trimming gives me the best results.
 |
| Step 10: Cut out template |
 |
| Step 12: Position the template |
 |
| Step 13: Trim two edges |
 |
| Step 14: Position ruler to trim remining sides |
 |
| Seam will not go through corner of the ruler |

